This Mid-Century Modern House Part 2: An Un-nostalgic Kitchen Remodel

This article is part of a series of about remodeling my own home, a Mid-Century Modern in West Seattle, both inside and out.
I’m not sure when I first realized that my new kitchen did not have a refrigerator. You’d think that given their bulk, and my experience designing kitchens, it would have been obvious, but when you assume that every kitchen has one, it leaves you open to overlooking a major appliance. Plus, my mind was spinning with all the possibilities when I first saw this 1954 Mid-Century Modern.
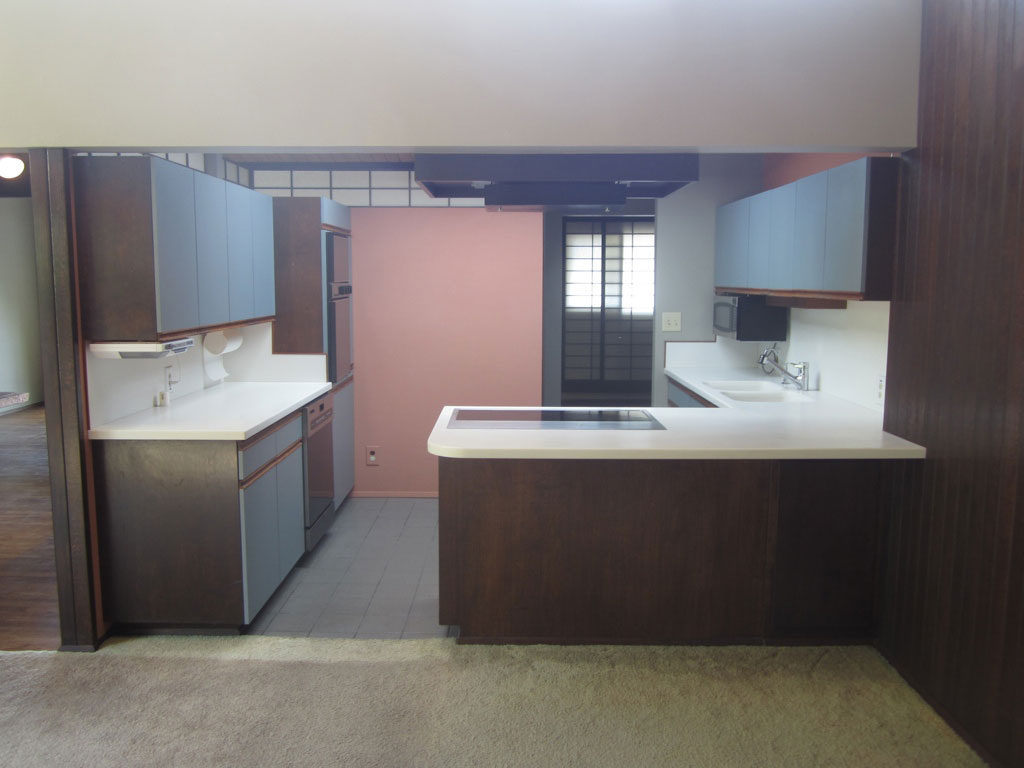
Not that I wouldn’t have put “new kitchen” at the top of my to-do-list anyway when I bought the house. It had baby-blue plastic-laminate cabinets, pink accent paint, and a synthetic countertop that looked like an unworldly marshmallow. The whole thing screamed 1980’s! So how could the previous owner, Mr. W, live without a fridge in his kitchen? I can only theorize, but the timing of the kitchen remodel might align when Mr. W became a widower. Not a problem to walk out to the garage to get food when you are cooking for one. I probably could have lived with this, but going to the garage every time I needed half & half for my coffee was a deal-breaker.
This wasn’t the only functional issue I needed to fix. The dishwasher was across the kitchen from the sink. (That’s a lot of dripped water on the floor.) And the electric cooktop was in the breakfast bar countertop. (I could see the Sunday New York Times going up in flames.) The low hood for the cooktop also blocked the view from the kitchen to the family room and made this small kitchen seem even smaller. I couldn’t expand my way out of these problems: the 85 SF kitchen was landlocked at the center of the house, and stealing space from other rooms was not an option.
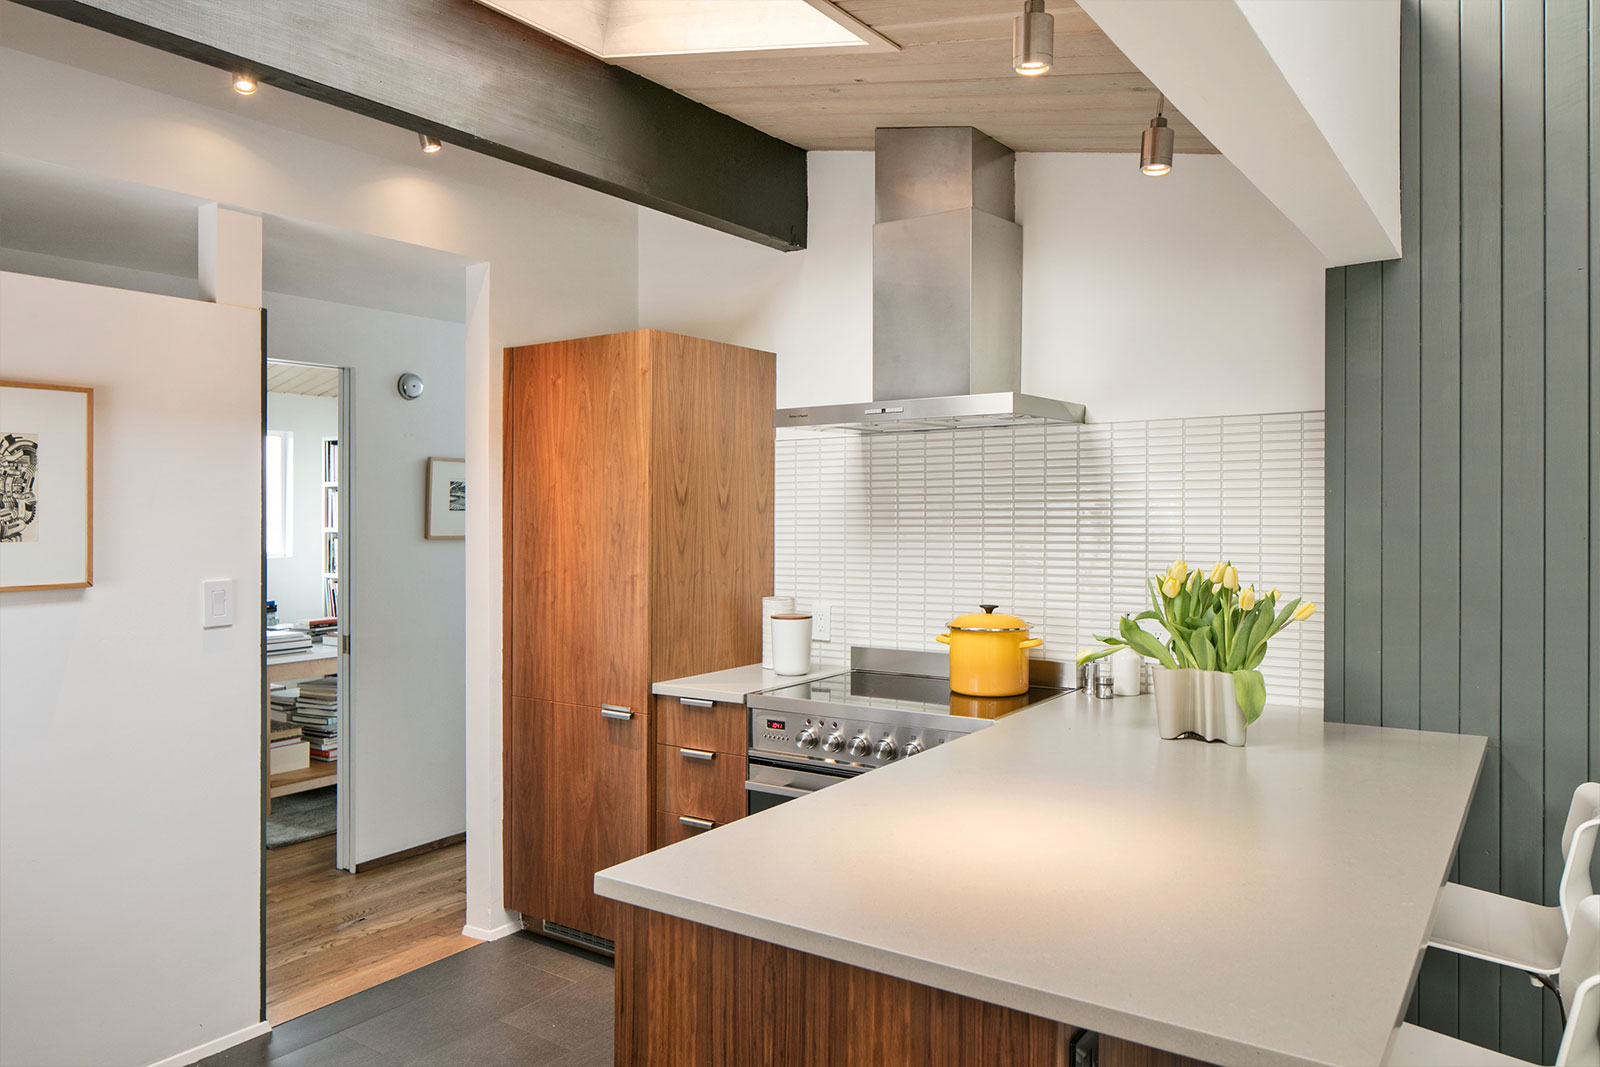
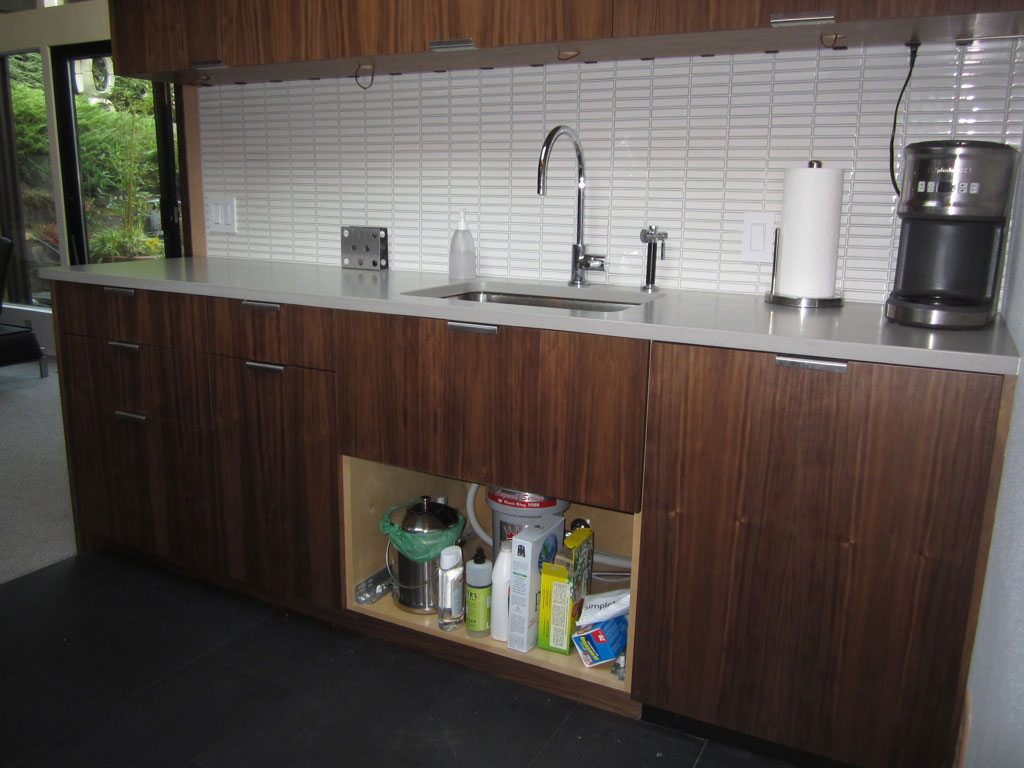
My solution: move the sink and dishwasher to one side of the kitchen where there’s a free-standing wall and place the fridge and the stove on the other side against the only wall. I selected a much smaller refrigerator (a 24-inch wide Liebherr) than most of my clients could live with, but with my own house, I could place aesthetics over convenience. Another choice was to limit the number of upper cabinets; this was made bearable by a nearby pantry.
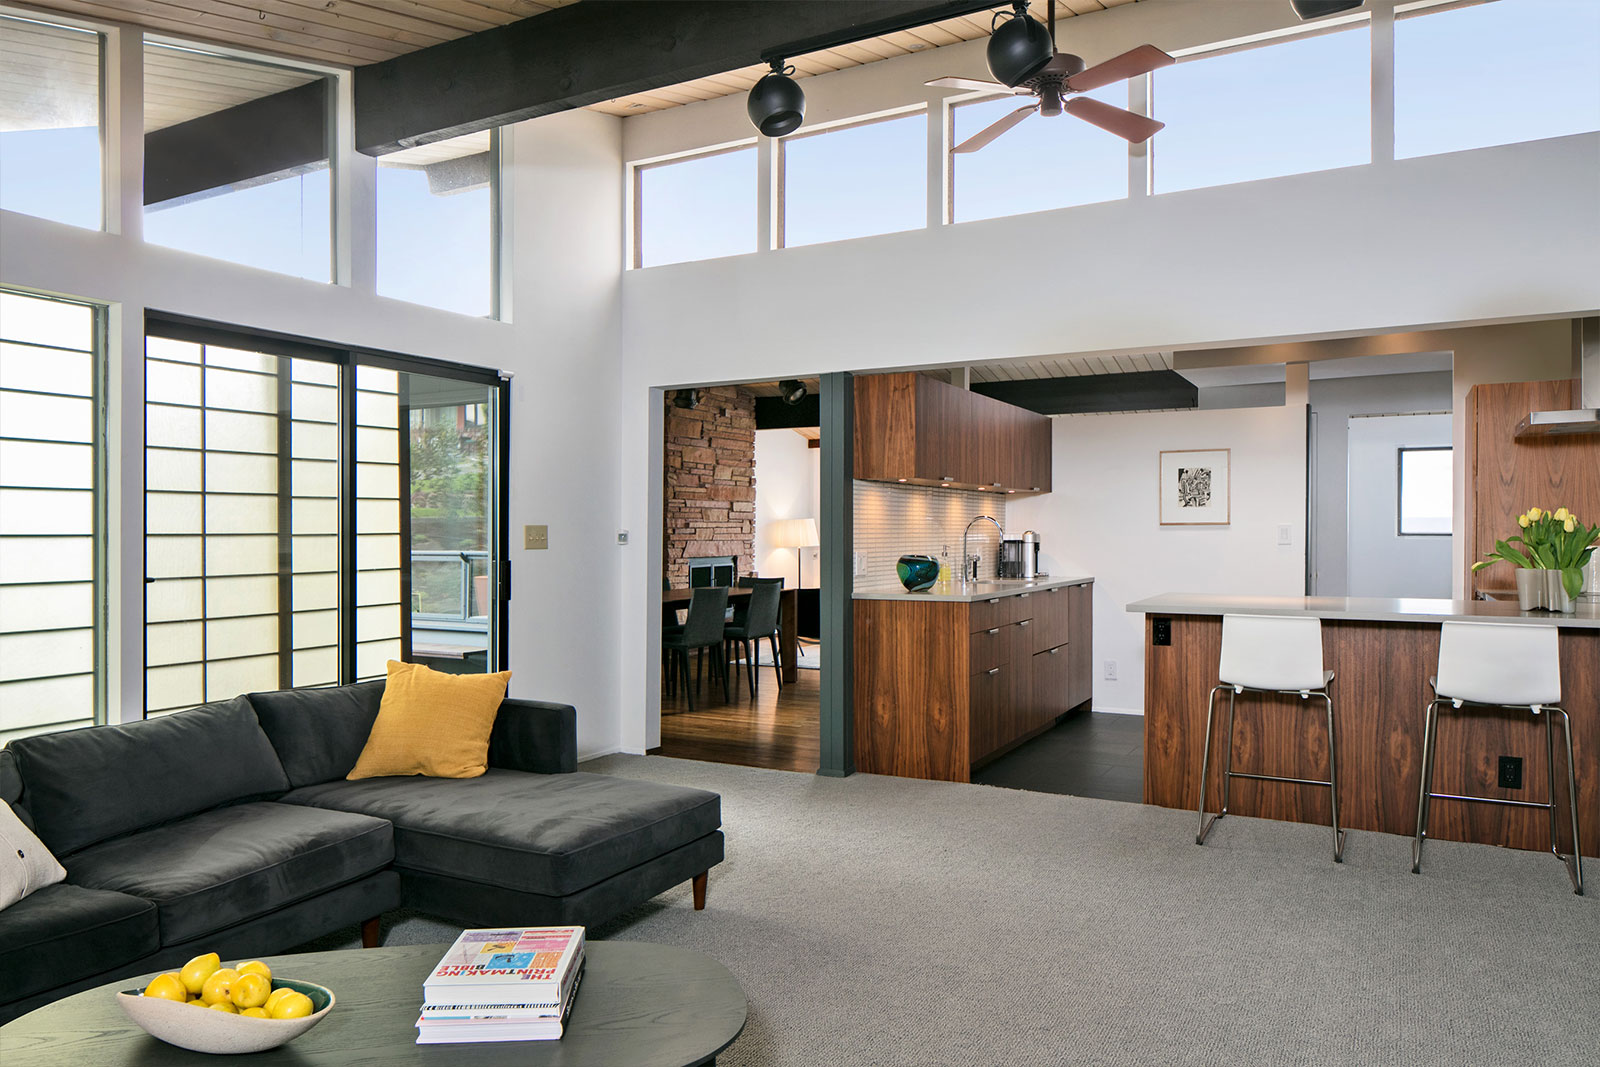
Photo Gallery: After Remodel


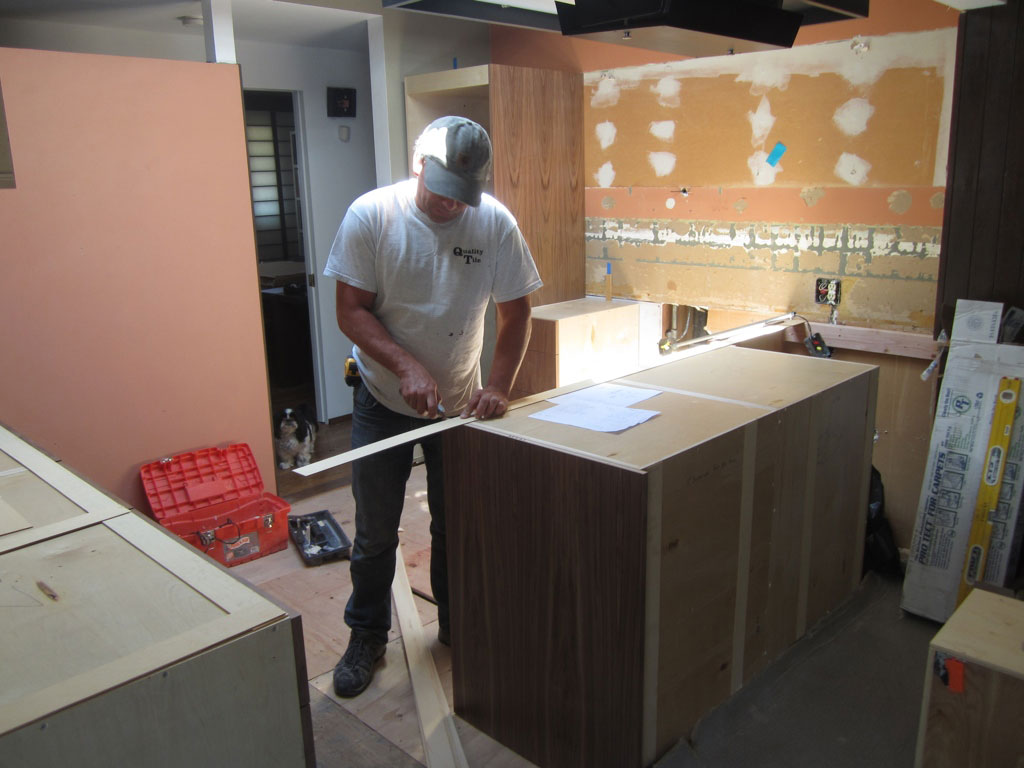
The good news about being an architect is that I get free design services. The bad news is that every other project in my office has priority. Fortunately, an excellent contractor that I work with as much as I can, DLH Construction, had room in their schedule to take on my project. Since they’ve worked with me in the past and understand my design preferences, they were able to work from minimal drawings and lots of questions.
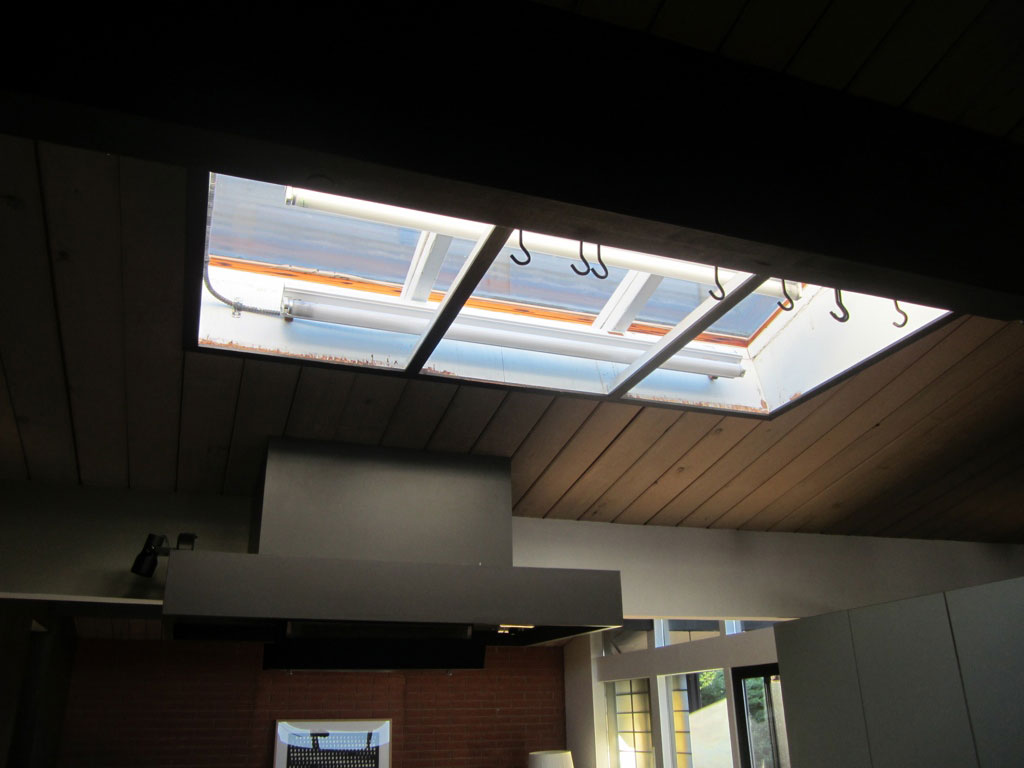
Before DLH started, I took down the shoji screens on top of the free-standing wall separating the kitchen and the living room. I also removed a shoji screen from a skylight to let the sun into the kitchen.
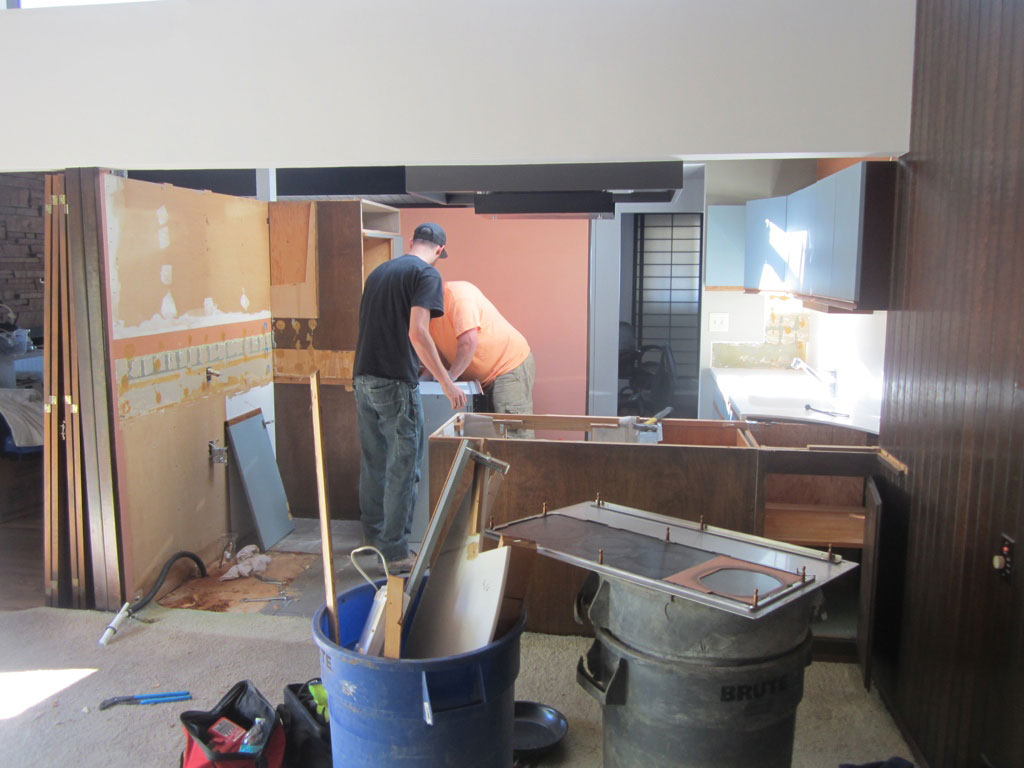
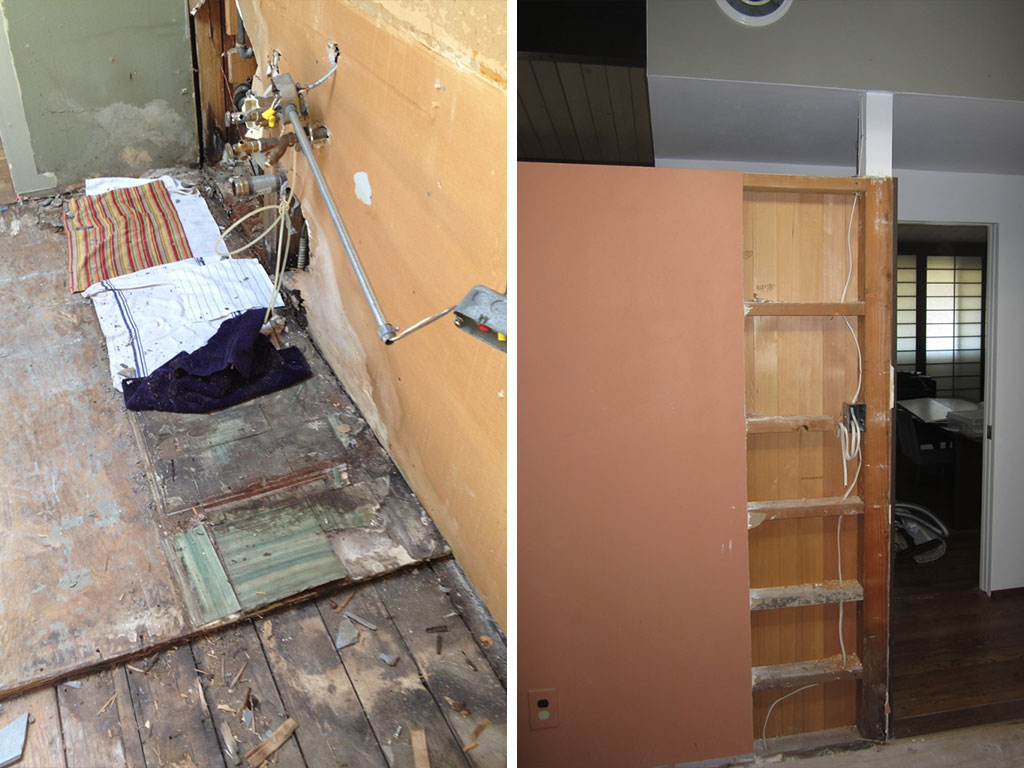
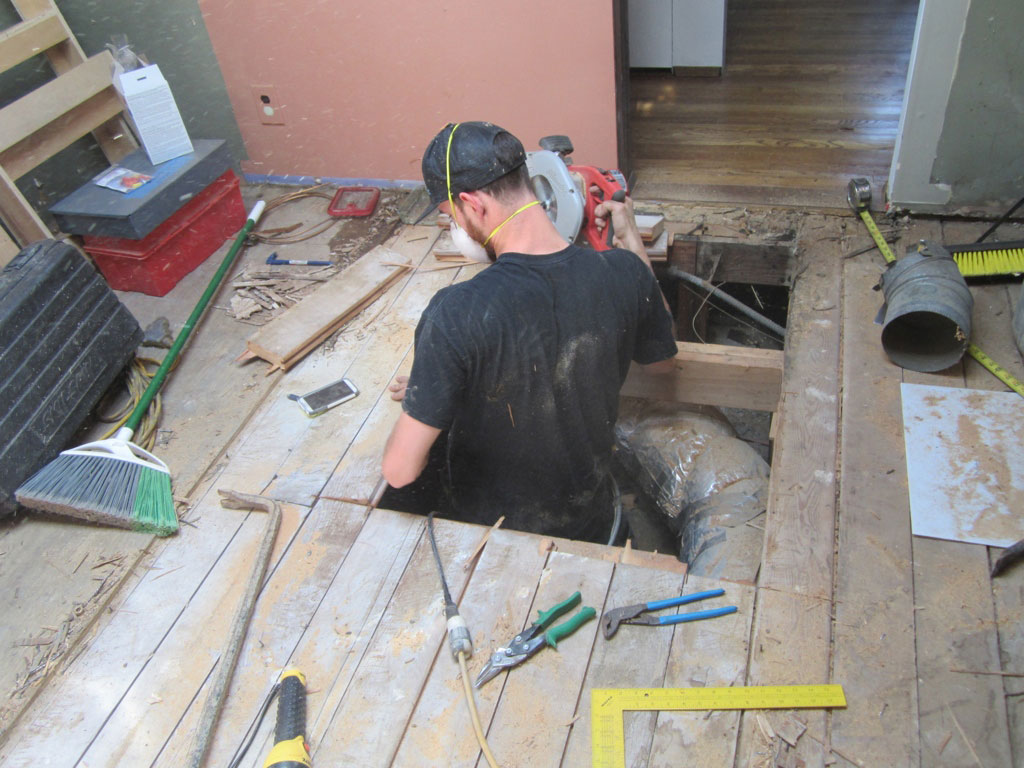
As with many remodels, demolition revealed existing problems; in this case, water damage from leaky pipes and asbestos tile. After the kitchen was tented and the asbestos remediated, work moved forward quickly. The house has a crawl space, and DLH’s crew cut a hole in the floor and spent a lot of time accessing plumbing, ducts, and electrical wiring.
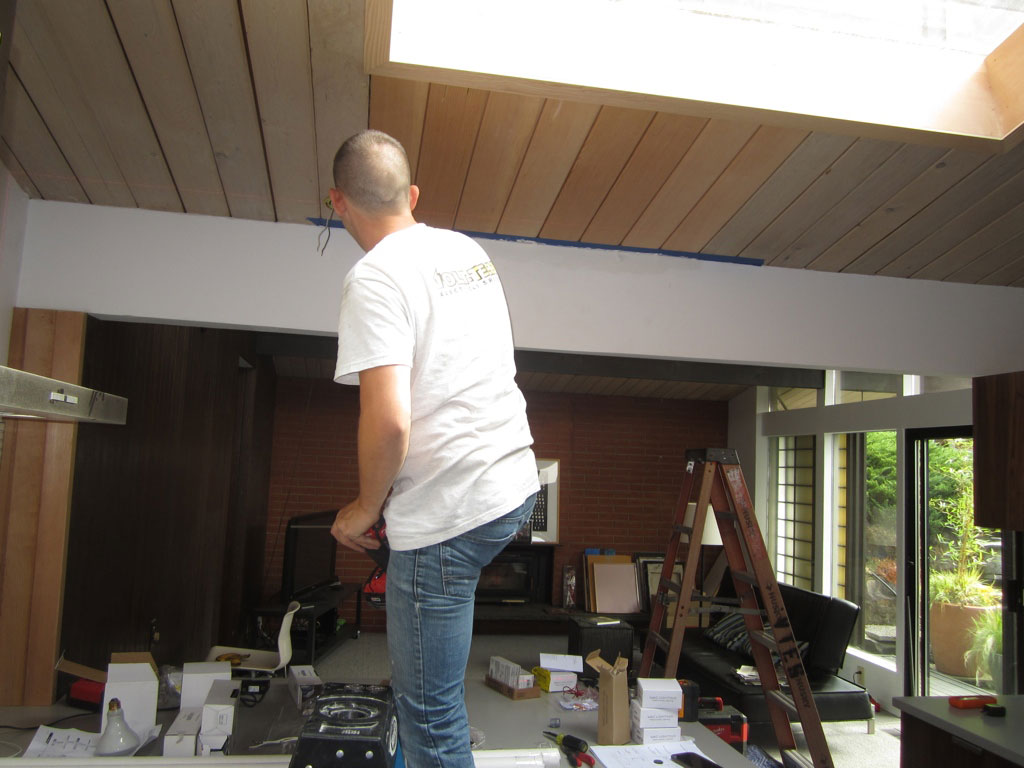
The ceiling has exposed beams and car decking, so overhead lighting was a challenge: its not possible to put in can lights, and I didn’t want to see conduit to ceiling-mounted fixtures. The solution: several planks of the car decking were removed and milled to conceal wires to Tech Lighting Monorails with Tellium heads. The transformer is hidden in the hallway dropped ceiling, and a column was built out to hide wires. To provide additional illumination on work surfaces, puck lights are recessed in the underside of the upper cabinets.
The new custom cabinets are walnut to recall Mid-Century interiors (by my favorite custom cabinet maker, Contour Woodworks), and the fridge and Miele dishwasher are fully integrated. There is an under-counter drawer microwave by Sharp to keep upper cabinets simple since the kitchen is open to the family room.
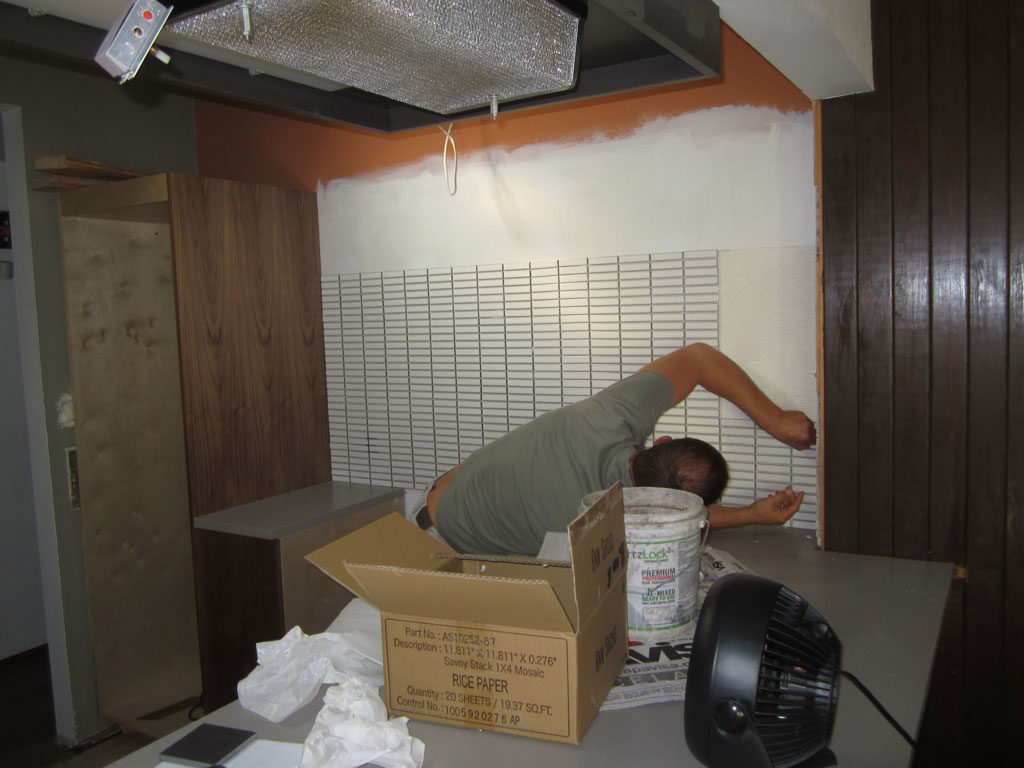
I chose Caesarstone for the countertop for its durability, and the color New Concrete has enough variation to not look synthetic. To pick up on the gray and add a Mid-Century feel, the backsplash is stacked Ann Sacks Savoy Mosaic in Ricepaper. It’s mostly white but with a soft gray edge. A continuous plug mold is incorporated under the upper cabinets so that the backsplash is not interrupted by outlets.
Overall, the kitchen is modern, efficient, and compact. It’s the center of the house and resets the Mid-Century feel without being a nostalgic ode to the 1950s (or the 1980s).
Photo Gallery: Before Remodel

Have an Upcoming Project?
My firm offers full architectural services from helping clients to determine their needs to being your advocate during construction. I enjoy working with clients who love design and want to be part of a collaborative process.
Email me at contact@sheriolson.com to set up a time to talk about your upcoming project.
Project Team
Sheri Olson Architecture, PLLC
DHL, Inc
Photography
Malia Campbell
Additional Articles
(206) 720-5510 | contact@sheriolson.com